Search the Community
Showing results for tags 'enhancement'.
-
 MOD Admin login random background and MODERN STYLE Is very simple. 1 - Edit file "adminskinsdefaulttemplateslogin.php" (make backup first) 2 - Download the file in this topic (random background). LINK >https://forums.cubecart.com/topic/49045#n-skin/ 3 - Add after this line the next code: <link rel="stylesheet" type="text/css" href="{$SKIN_VARS.admin_folder}/skins/{$SKIN_VARS.skin_folder}/styles/layout.css" media="screen" /> <!-- CODE HERE --> LIKE THIS <link rel="stylesheet" type="text/css" href="{$SKIN_VARS.admin_folder}/skins/{$SKIN_VARS.skin_folder}/styles/layout.css" media="screen" /> <!-- CODE HERE --> <style> body { background : #dddddd url("{$STORE_URL}/js/random_walls.php"); /* link to topic, use the same file random_wall.php */ /*background : #dddddd url("{$STORE_URL}/js/random_walls.php?img=intel_chip-wide.jpg");*/ background-attachment: fixed; background-color: black; background-repeat: no-repeat; -webkit-background-size: cover; -moz-background-size: cover; -o-background-size: cover; background-size: cover; } .preauth-wrapper_new { background-color: #FFF; margin: auto; width: 350px; /* */ height: 180; padding: 0 0 6px 0; /* margin-top: 30px; */ /* border-left: 40px solid #F7F7F7; */ /* border-bottom: 40px solid #F7F7F7; */ /* border-right: 40px solid #F7F7F7; */ position: absolute; top: 50%; margin-top: -100px; margin-left: 50px; border-radius: 5px; box-shadow: 0 0 1em black; } #login-box > h1 { margin: 7px 0 10px 0; padding: 5px 10px 5px 10px; color: #FFF; font-size: 18px; background-color: #000; border-radius: 5px; text-align: -webkit-center; font-size: 12px; } </style> In the same file find class="preauth-wrapper and replace with this class="preauth-wrapper_new Save the file. Clear cache and DONE!!! Hope you like it!!! Comment Please!!
-
insert wallpapers in Kurouto Skin (or other skin, work in every skin) No restrictions on the number of images allowed. background images are automatically loaded when you enter a new section First and foremost: backup files. (skinskurouto(ORNAMESKIN)templatesmain.php) Now get to work: find and edit the file "skinskurouto(ORNAMESKIN)templatesmain.php" in line 35 we find: CODE </script>{/literal} {/if} add after: CODE </script>{/literal} {/if} <!-- Fix and centered backgound --> <style> body { background : #dddddd url("{$STORE_URL}/js/random_walls.php"); background-attachment: fixed; background-color: black; background-repeat: no-repeat; -webkit-background-size: cover; -moz-background-size: cover; -o-background-size: cover; background-size: cover; } </style> Save file and upload Create the random_walls.php save and upload tu js folder in the root (or wherever you want, remember change the path) CODE <?php /* INSTRUCTIONS 1. Modify the $folder setting in the configuration section below. 2. Add image types if needed (most users can ignore that part). 3. Upload this file (rotate.php) to your webserver. I recommend uploading it to the same folder as your images. 4. Link to the file as you would any normal image file, like this: <img src="http://example.com/random_walls.php"> 5. You can also specify the image to display like this: <img src="http://example.com/random_walls.php?img=gorilla.jpg"> This would specify that an image named "gorilla.jpg" located in the image-rotation folder should be displayed. That's it, you're done. */ /* ------------------------- CONFIGURATION ----------------------- Set $folder to the full path to the location of your images. For example: $folder = '../images/source/walls'; If the rotate.php file will be in the same folder as your images then you should leave it set to $folder = '.'; */ $folder = '../images/source/walls'; /* Most users can safely ignore this part. If you're a programmer, keep reading, if not, you're done. Go get some coffee. If you'd like to enable additional image types other than gif, jpg, and png, add a duplicate line to the section below for the new image type. Add the new file-type, single-quoted, inside brackets. Add the mime-type to be sent to the browser, also single-quoted, after the equal sign. For example: PDF Files: $extList['pdf'] = 'application/pdf'; CSS Files: $extList['css'] = 'text/css'; You can even serve up random HTML files: $extList['html'] = 'text/html'; $extList['htm'] = 'text/html'; Just be sure your mime-type definition is correct! */ $extList = array(); $extList['gif'] = 'image/gif'; $extList['jpg'] = 'image/jpeg'; $extList['JPG'] = 'image/jpeg'; $extList['jpeg'] = 'image/jpeg'; $extList['png'] = 'image/png'; $extList['PNG'] = 'image/png'; // You don't need to edit anything after this point. // --------------------- END CONFIGURATION ----------------------- $img = null; if (substr($folder,-1) != '/') { $folder = $folder.'/'; } if (isset($_GET['img'])) { $imageInfo = pathinfo($_GET['img']); if ( isset( $extList[ strtolower( $imageInfo['extension'] ) ] ) && file_exists( $folder.$imageInfo['basename'] ) ) { $img = $folder.$imageInfo['basename']; } } else { $fileList = array(); $handle = opendir($folder); while ( false !== ( $file = readdir($handle) ) ) { $file_info = pathinfo($file); if ( isset( $extList[ strtolower( $file_info['extension'] ) ] ) ) { $fileList[] = $file; } } closedir($handle); if (count($fileList) > 0) { $imageNumber = time() % count($fileList); $img = $folder.$fileList[$imageNumber]; } } if ($img!=null) { $imageInfo = pathinfo($img); $contentType = 'Content-type: '.$extList[ $imageInfo['extension'] ]; header ($contentType); readfile($img); } else { if ( function_exists('imagecreate') ) { header ("Content-type: image/png"); $im = @imagecreate (100, 100) or die ("Cannot initialize new GD image stream"); $background_color = imagecolorallocate ($im, 255, 255, 255); $text_color = imagecolorallocate ($im, 0,0,0); imagestring ($im, 2, 5, 5, "IMAGE ERROR", $text_color); imagepng ($im); imagedestroy($im); } } ?> finally From the admin panel> filemanager Create a folder called walls and climb all the images you want. delete the cache. and reload the web!!! I hope you like!!! Comment Please!!

-
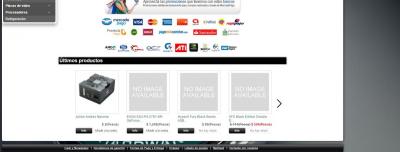
Lastes Product - Homepage Scroller - MOD jQuery thumbnail scroller This is a MOD for "LATEST PRODUCTS" in Homepage, will make display a thumbnail list with a slider of the latest products!!! FIRST 1 - Downloading plugins from: LINK http://manos.malihu.gr/jquery-thumbnail-scroller/ 2 - Create a folder in your store, i prefer this location. (for best organization) {$STORE_URL}/js/thumbnailscroller/ and put in there the plugin thumbnail-scroller-master. 3 - Edit file "skinsyourthemetemplatescontent.homepage.php" find this code and add after {if isset($LATEST_PRODUCTS)} <!-- PUT HERE --> Like this {if isset($LATEST_PRODUCTS)} <!-- Custom scroller --> <link rel="stylesheet" href="{$STORE_URL}/js/thumbnailscroller/jquery.mThumbnailScroller.css" /> <!-- Create a folder for the plugin ThumbnailScroller jquery --> <style> #my-thumbs-list{ padding: 5px 50px; /* modified as you like */ background-color: transparent; /* modified as you like */ overflow: auto; width: 735px; /* modified as you like */ height: 250px; /* modified as you like */ } </style> <script src="{$STORE_URL}/js/thumbnailscroller/jquery.mThumbnailScroller.js"></script> <!-- Create a folder for the plugin ThumbnailScroller jquery --> Save file. 4 - Find this code <h2>{$LANG.catalogue.latest_products}</h2> <!-- PUT HERE --> {foreach from=$LATEST_PRODUCTS item=product} and add put between this <h2>{$LANG.catalogue.latest_products}</h2> <!-- this code --> <div id="my-thumbs-list"> <ul> <li><!-- this code --> {foreach from=$LATEST_PRODUCTS item=product} Find this line in the end of file. </form> </div> <!-- HERE --> {/foreach} ​<!-- AND HERE --> </div> {/if} And put between this code or replace for whole code </form> </div> <!-- THIS CODE --> <script> (function($){ $(window).load(function(){ $("#my-thumbs-list").mThumbnailScroller({ axis:"x", //change to "y" for vertical scroller type:"click-100", theme:"buttons-out" }); }); })(jQuery); </script> {/foreach} <!-- THIS CODE --> </li> </ul> </div> </div> {/if} and this is all !!! i hope you like it!! Please comment. and if try this please make a suggestion!!! Saludos desde Argentina!
-
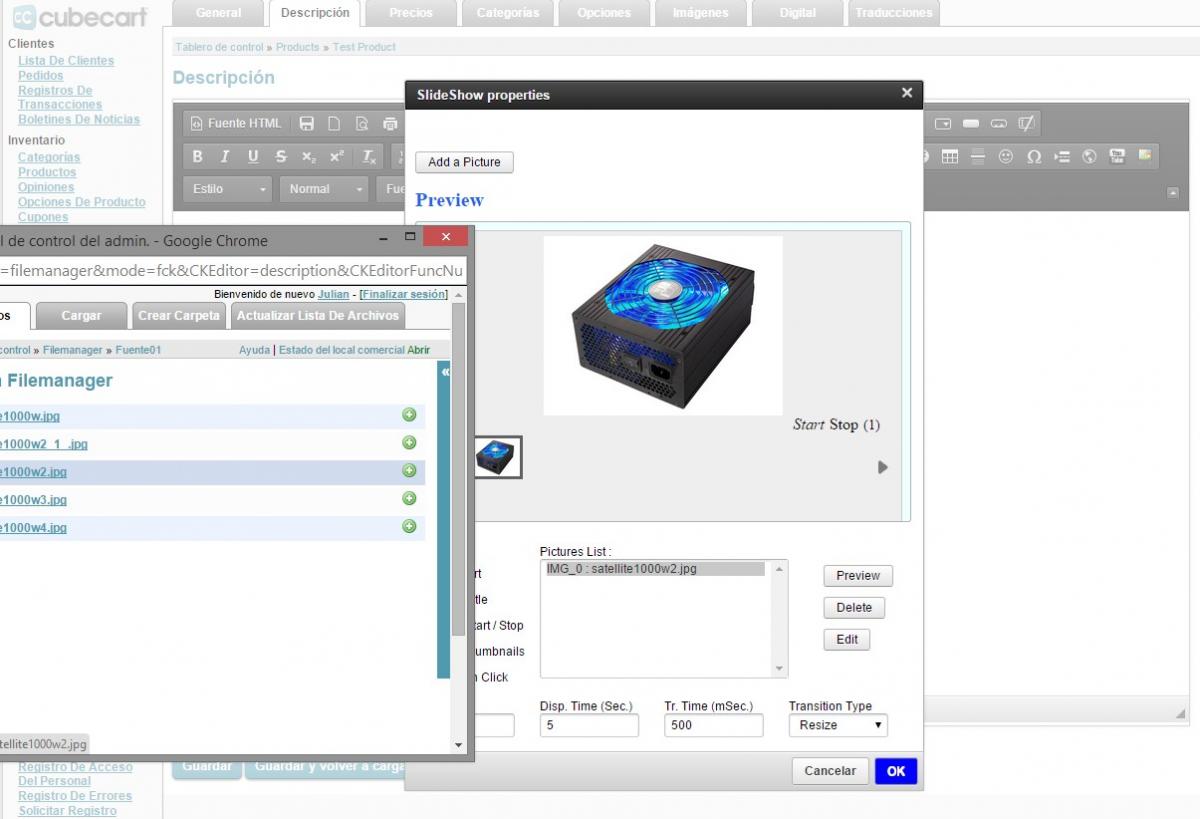
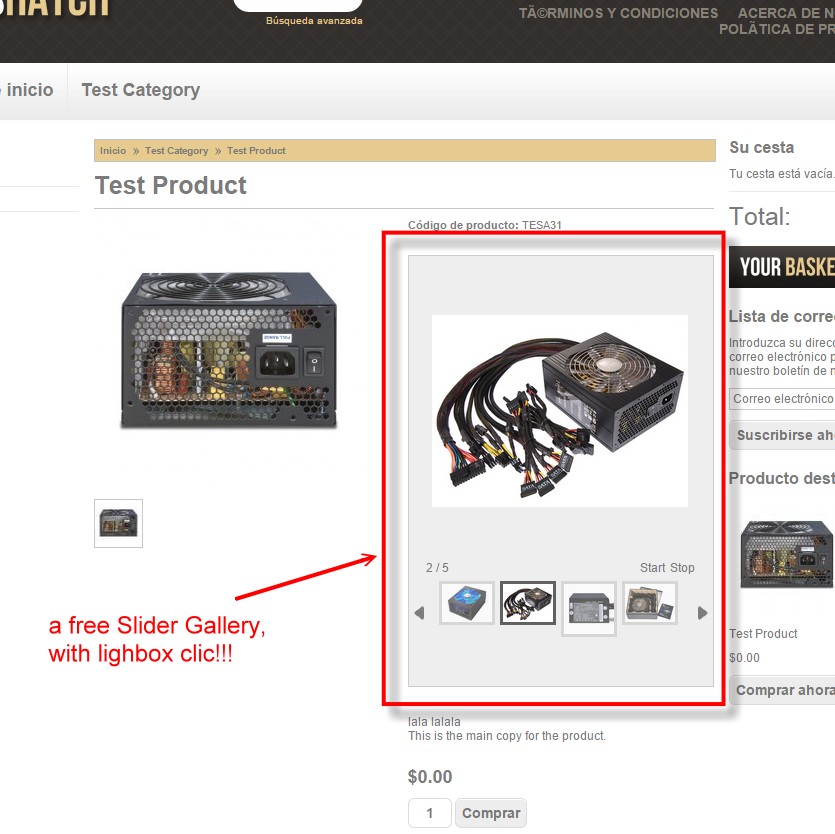
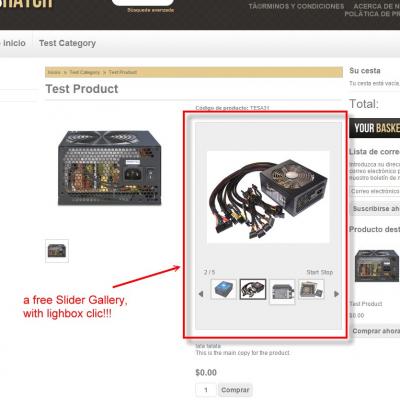
If anyone is interested, I can upload an explanation of how to upgrade to the latest version CKEditor Version 4.4.6 with skin "Moono-dark" (and the ability to change skins) and BEST!!!! the possibility of adding a FREE SIMPLE SLIDER anywhere on site documents, Youtube, etc!!!. Just tell me, and climb the steps. But ... as I see little participation, or when someone share some mod for free, hardly anyone says, or do not comment if they useful, maybe they do not care. Just tell me. Just a look, as is!!! looks like!!

-
Hi Is anyone aware of a mod, or how to configure any of the pre-installed shipping options, to achieve the result previously available when you purchased Goober's v5 plugin for Shipping by Item? I have lost my licence key & now can't use it, nor can I contact Goober/Alex. The module allowed you to define shipping rates by individual item whilst also allowing discounts for multiple quantities of that specific rates - you could also link shipping rates to products within specific categories (which is how I had my shop set up). Thanks ningbat